
Step 1: Install
Install via Homebrew (brew install --cask tablepro) or download the DMG from GitHub Releases. See Installation.
Step 2: Create Your First Connection
The welcome window has an actions panel on the left with Create Connection… and an Add from Existing menu. Your saved connections are on the right. The+ button, the group button, and the search field sit at the top of the connections panel. Press Cmd+F to focus search. Each connection shows its tags and group.
- Add from Existing holds Import from URL…, Import from Other App… (TablePlus, DataGrip, DBeaver, Beekeeper Studio, Sequel Ace, and others), Open Project Folder…, and Import Connections….
- With no connections saved yet, the right panel offers Try Sample Database. It opens the bundled Chinook SQLite database, no server needed. Reset it any time from File > Reset Sample Database….
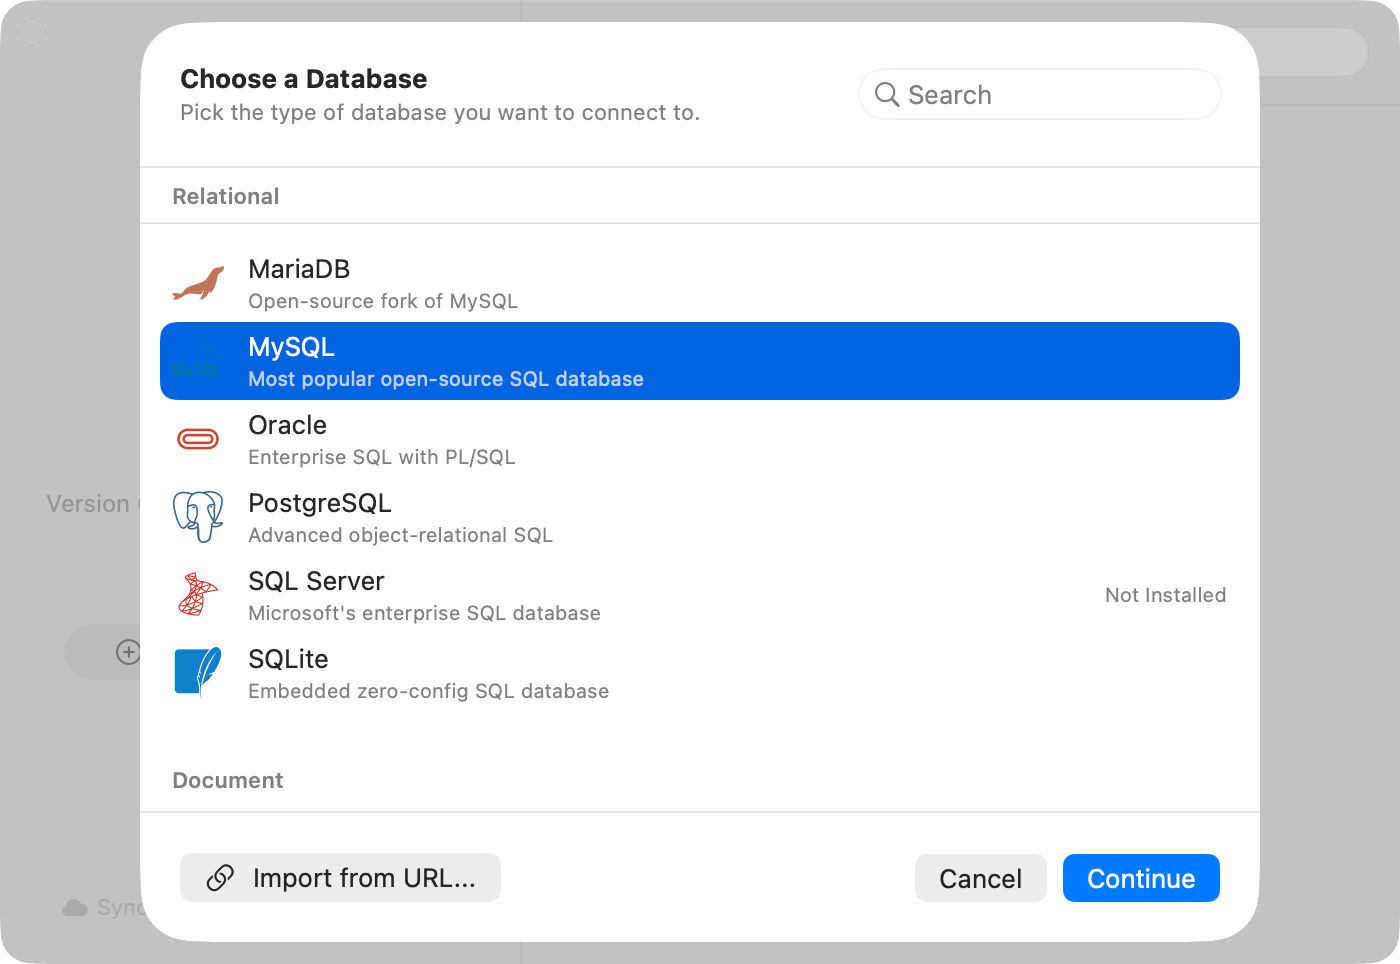
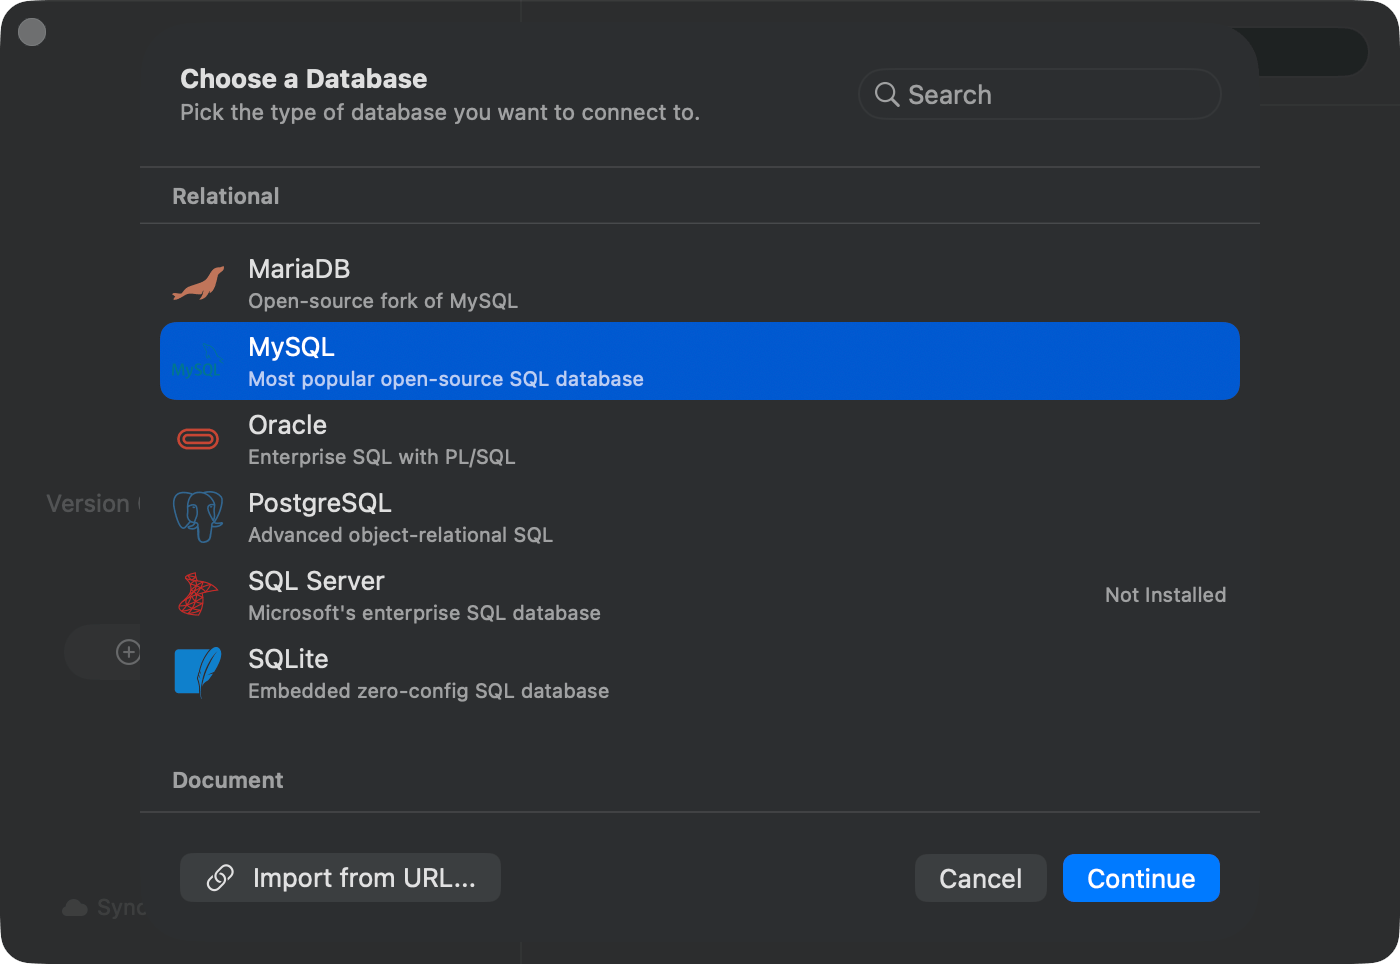
Pick a database type
Databases beyond the bundled drivers (MongoDB, Oracle, MSSQL, and others) run as plugins. The first time you pick one, TablePro asks to download the driver before opening the form.
Step 3: Fill In, Test, and Save
The form pre-fills the host (localhost) and the default port. The username is optional; leave it empty and the database uses its own default, the same way psql and mysql do. Typical values:
- MySQL: port
3306 - PostgreSQL: port
5432 - MongoDB: port
27017 - SQLite: browse to a
.sqliteor.dbfile, no auth needed
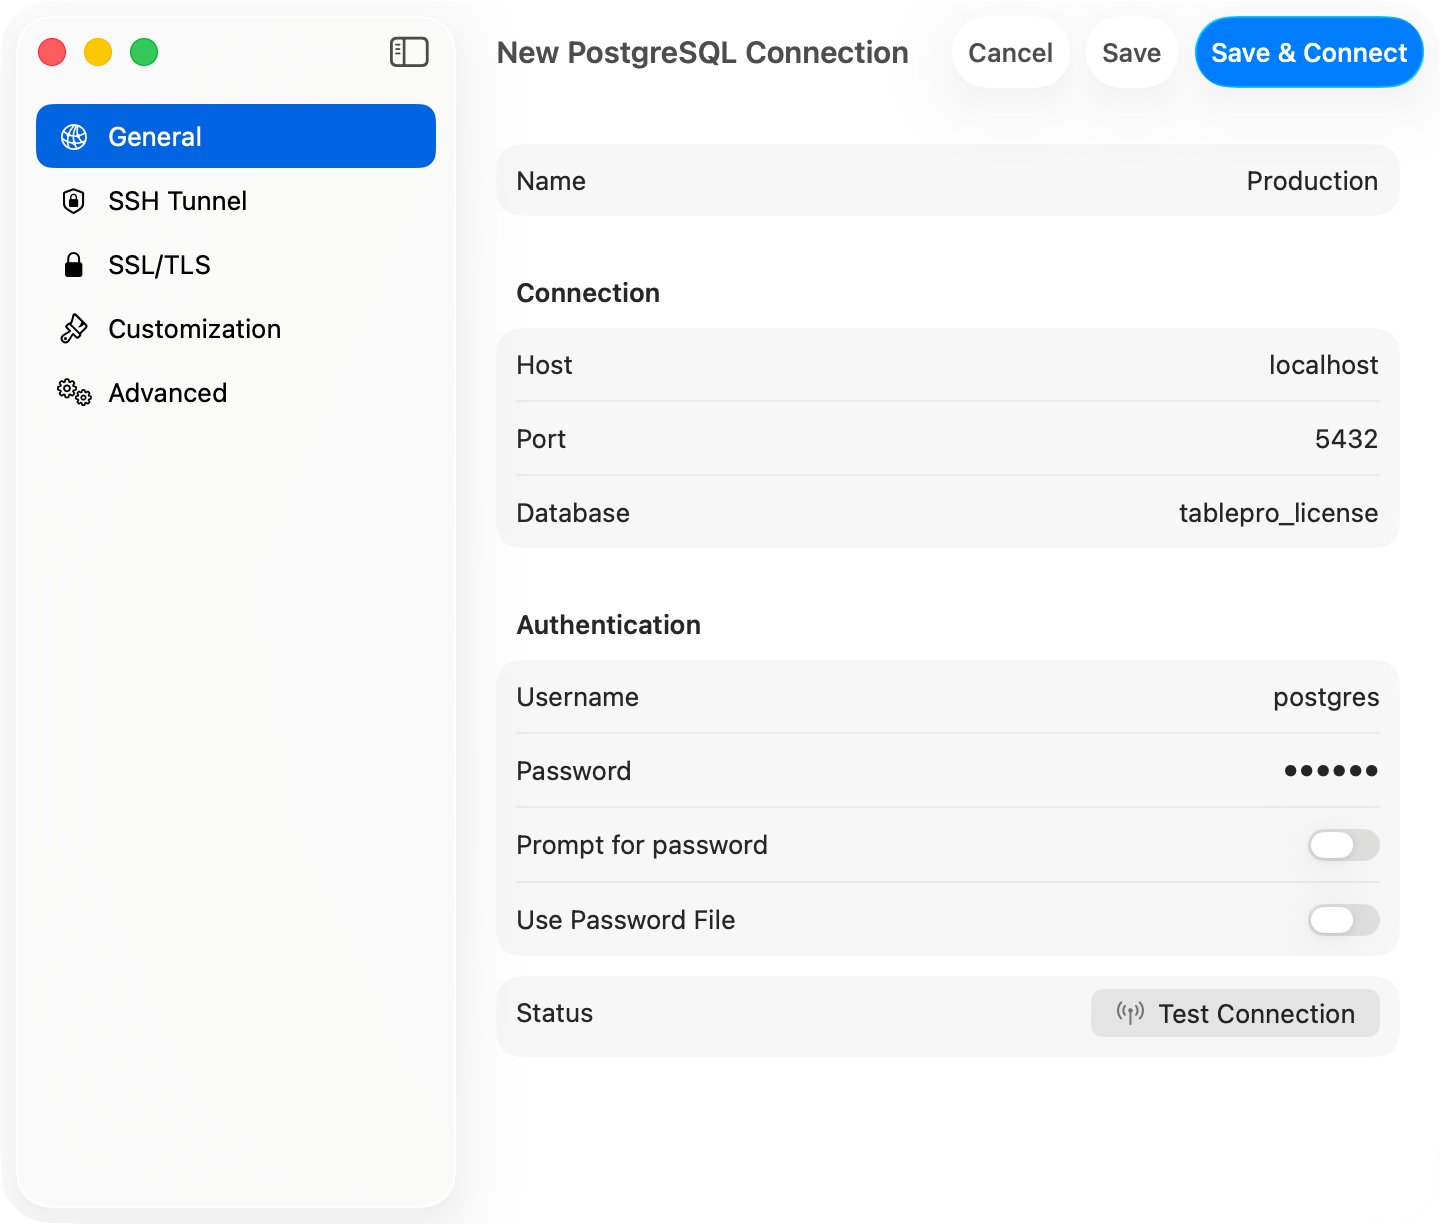
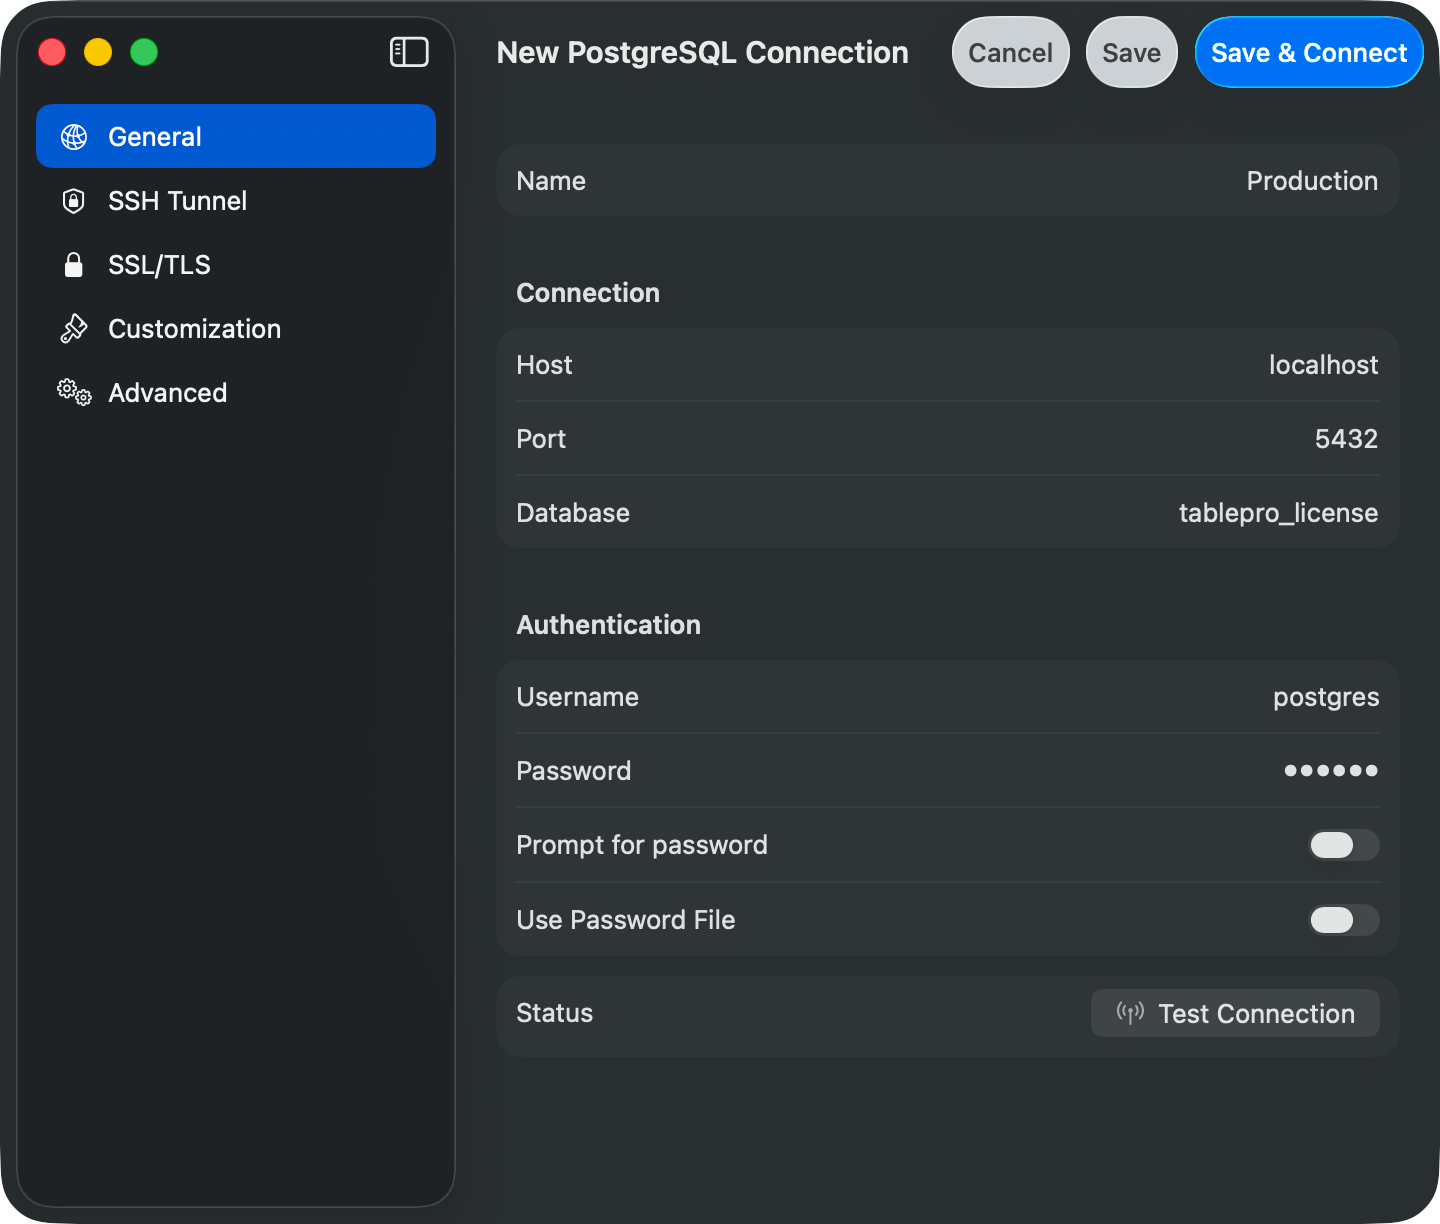
PostgreSQL connection form
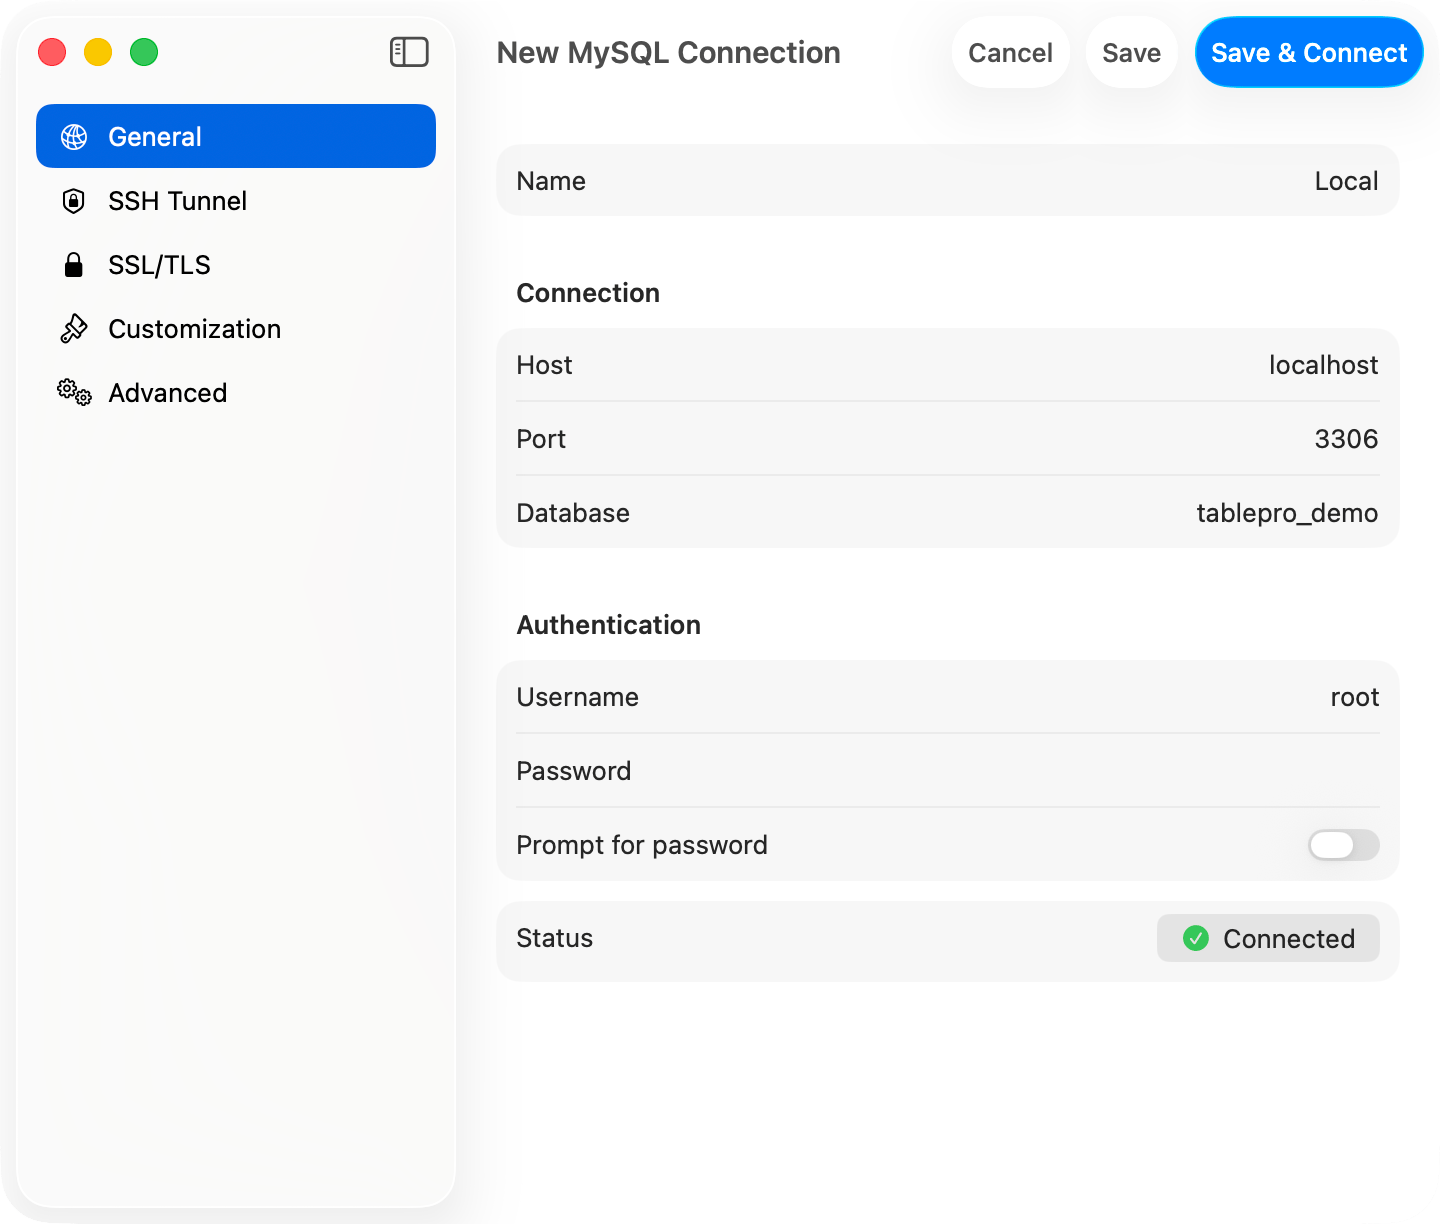
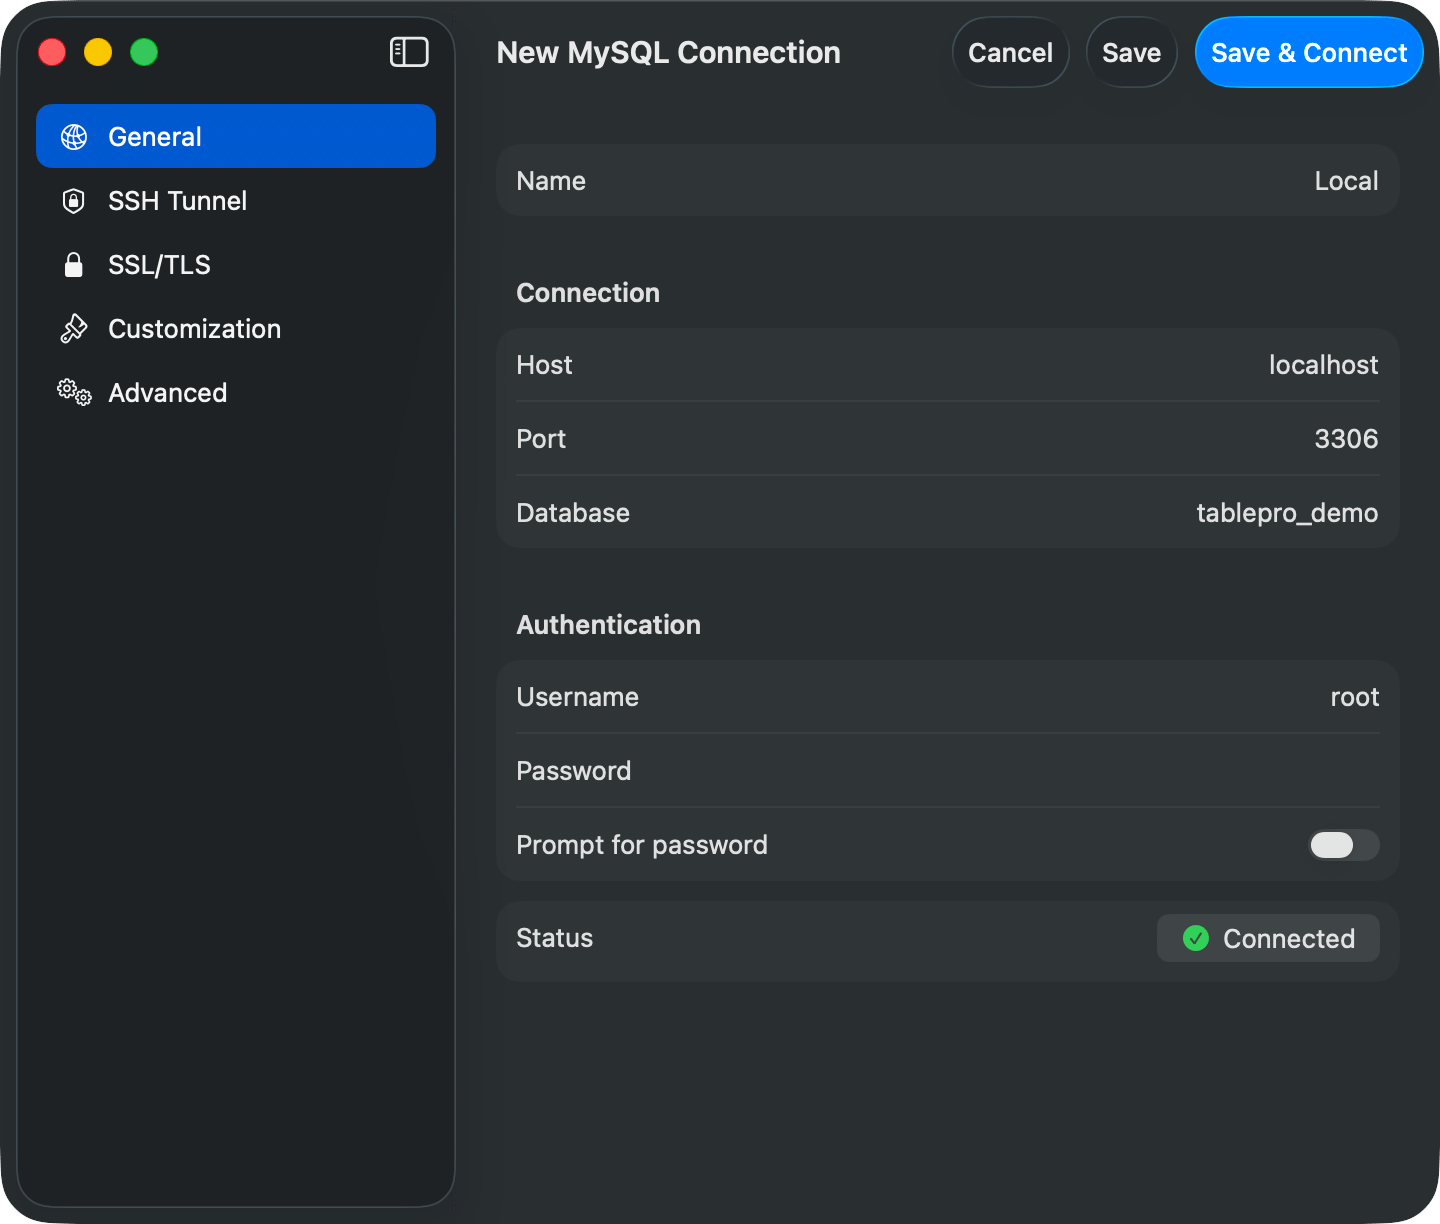
Test Connection succeeded
Step 4: Run Your First Query
The main window has a sidebar on the left (databases and tables), the open tab in the middle, and an inspector on the right. A table tab shows the data grid. A query tab puts the SQL editor above the result grid.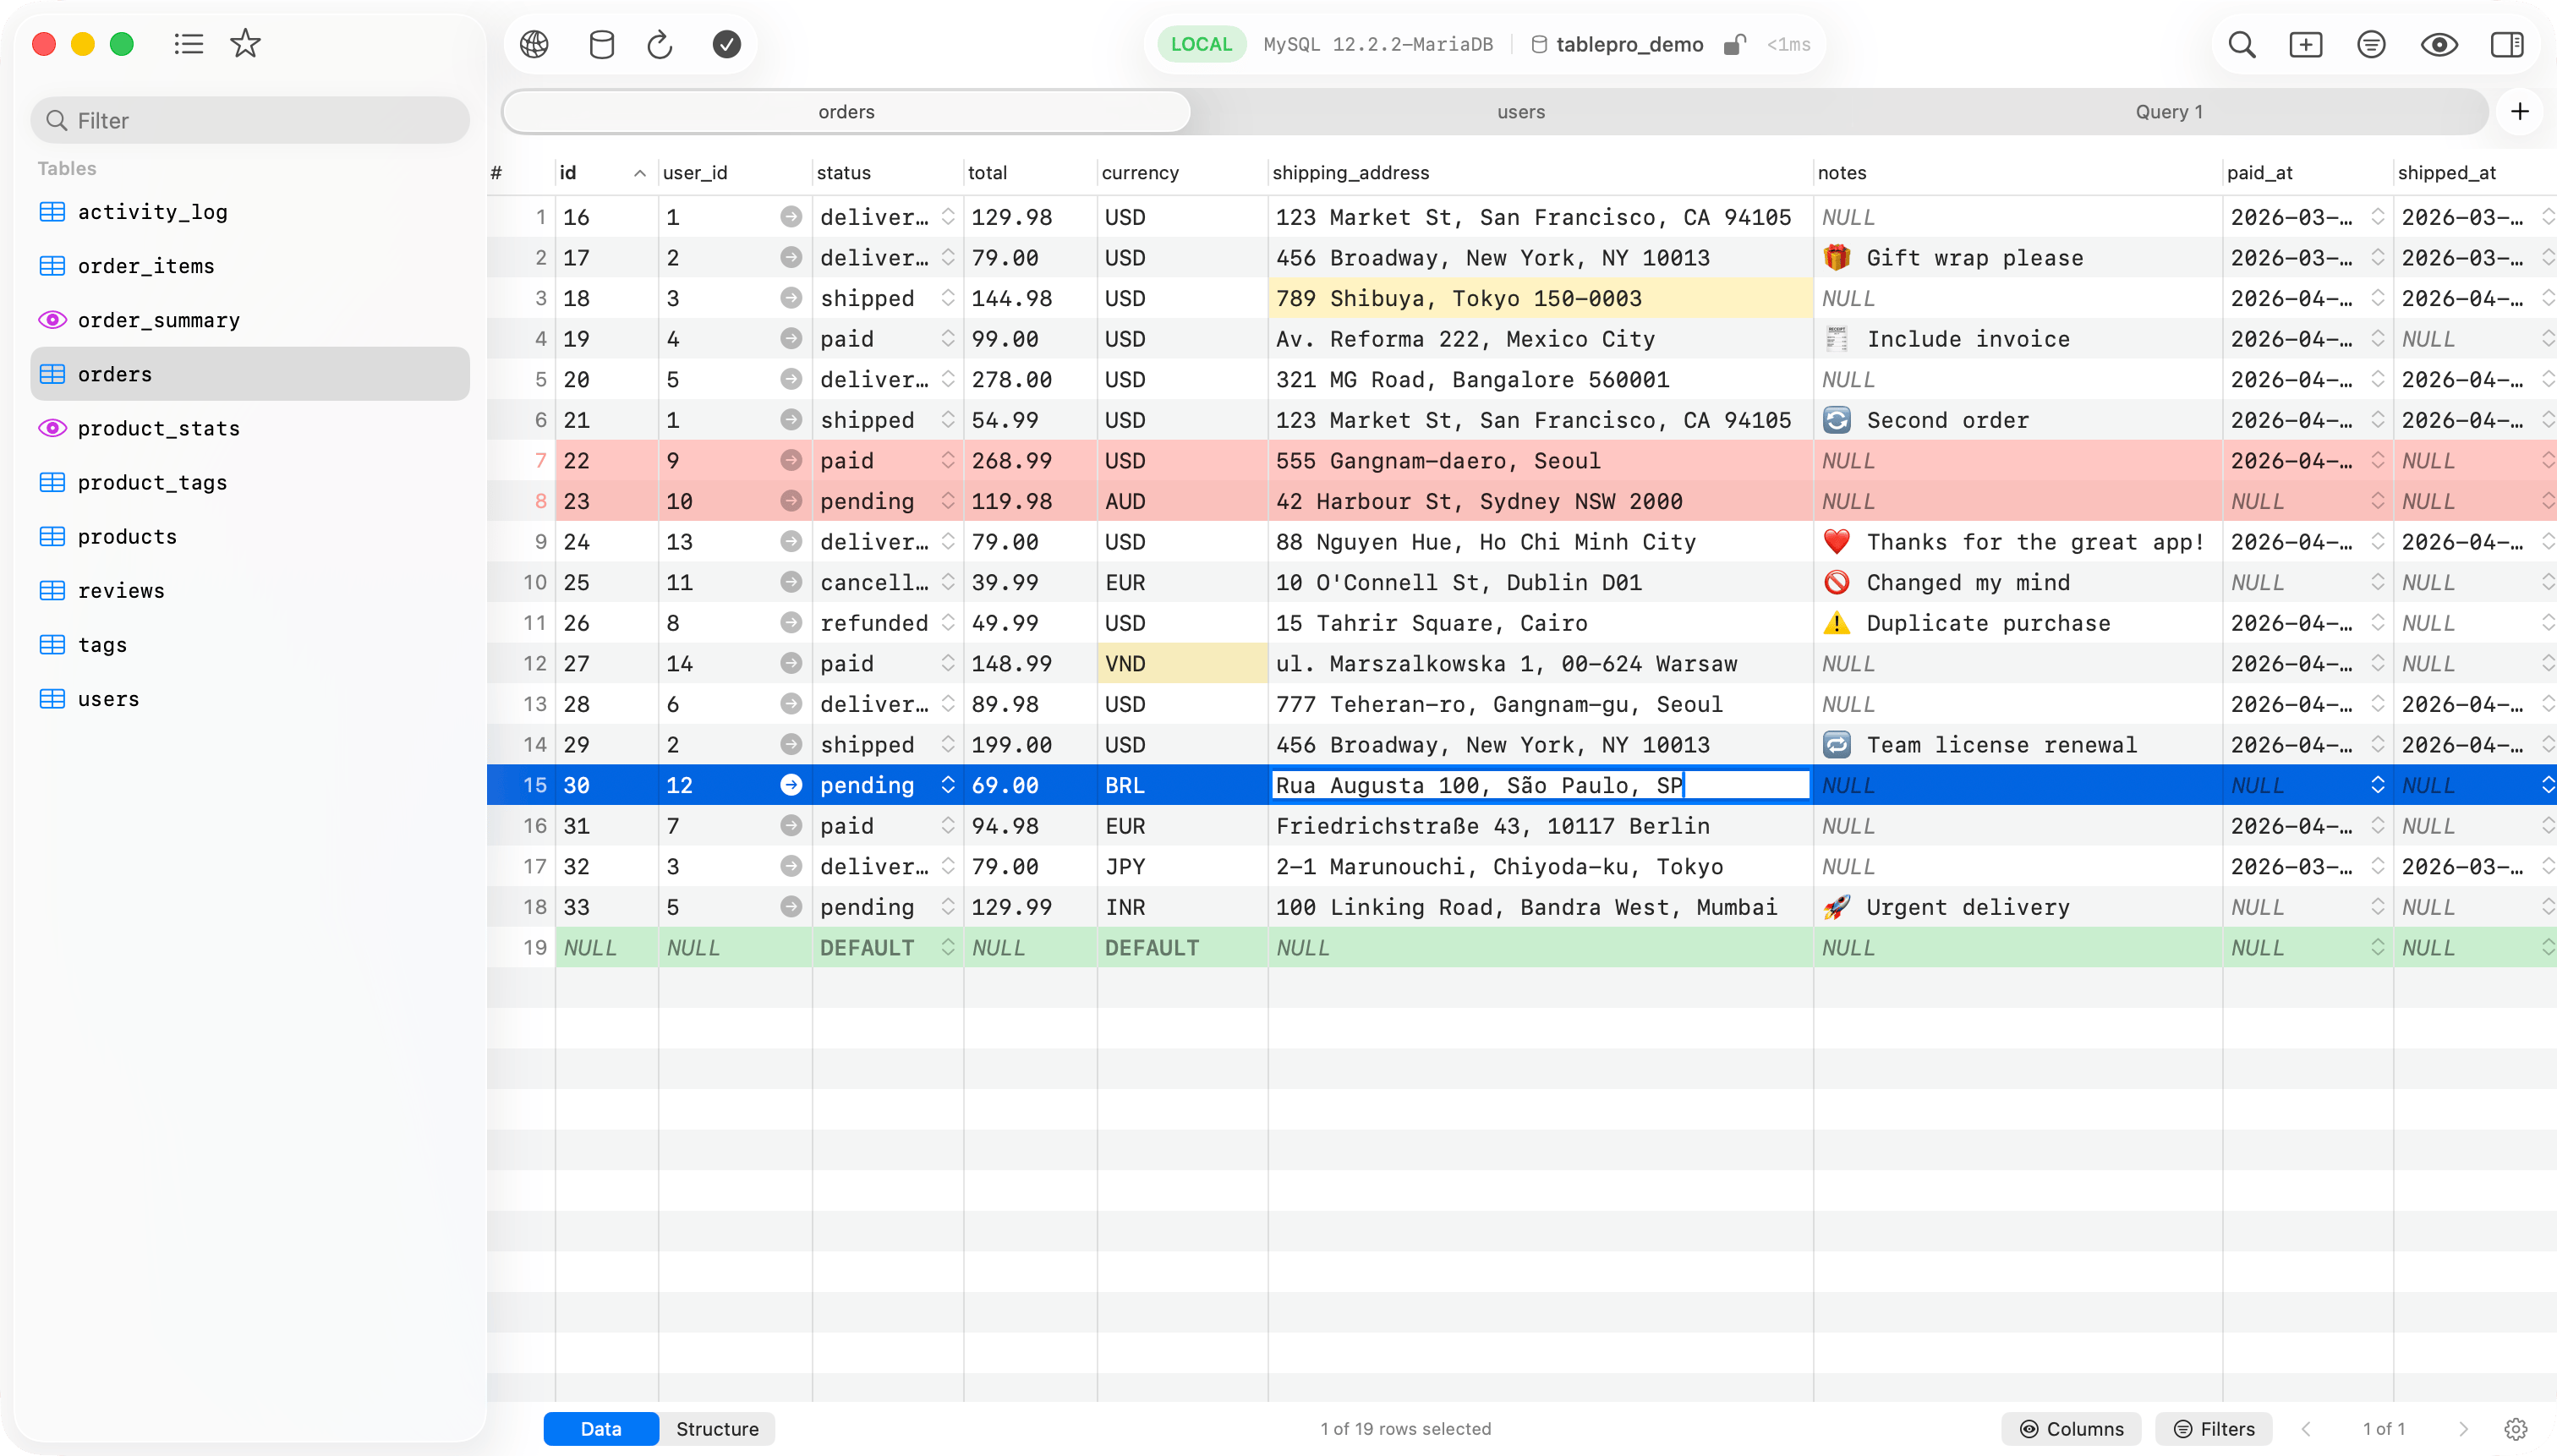
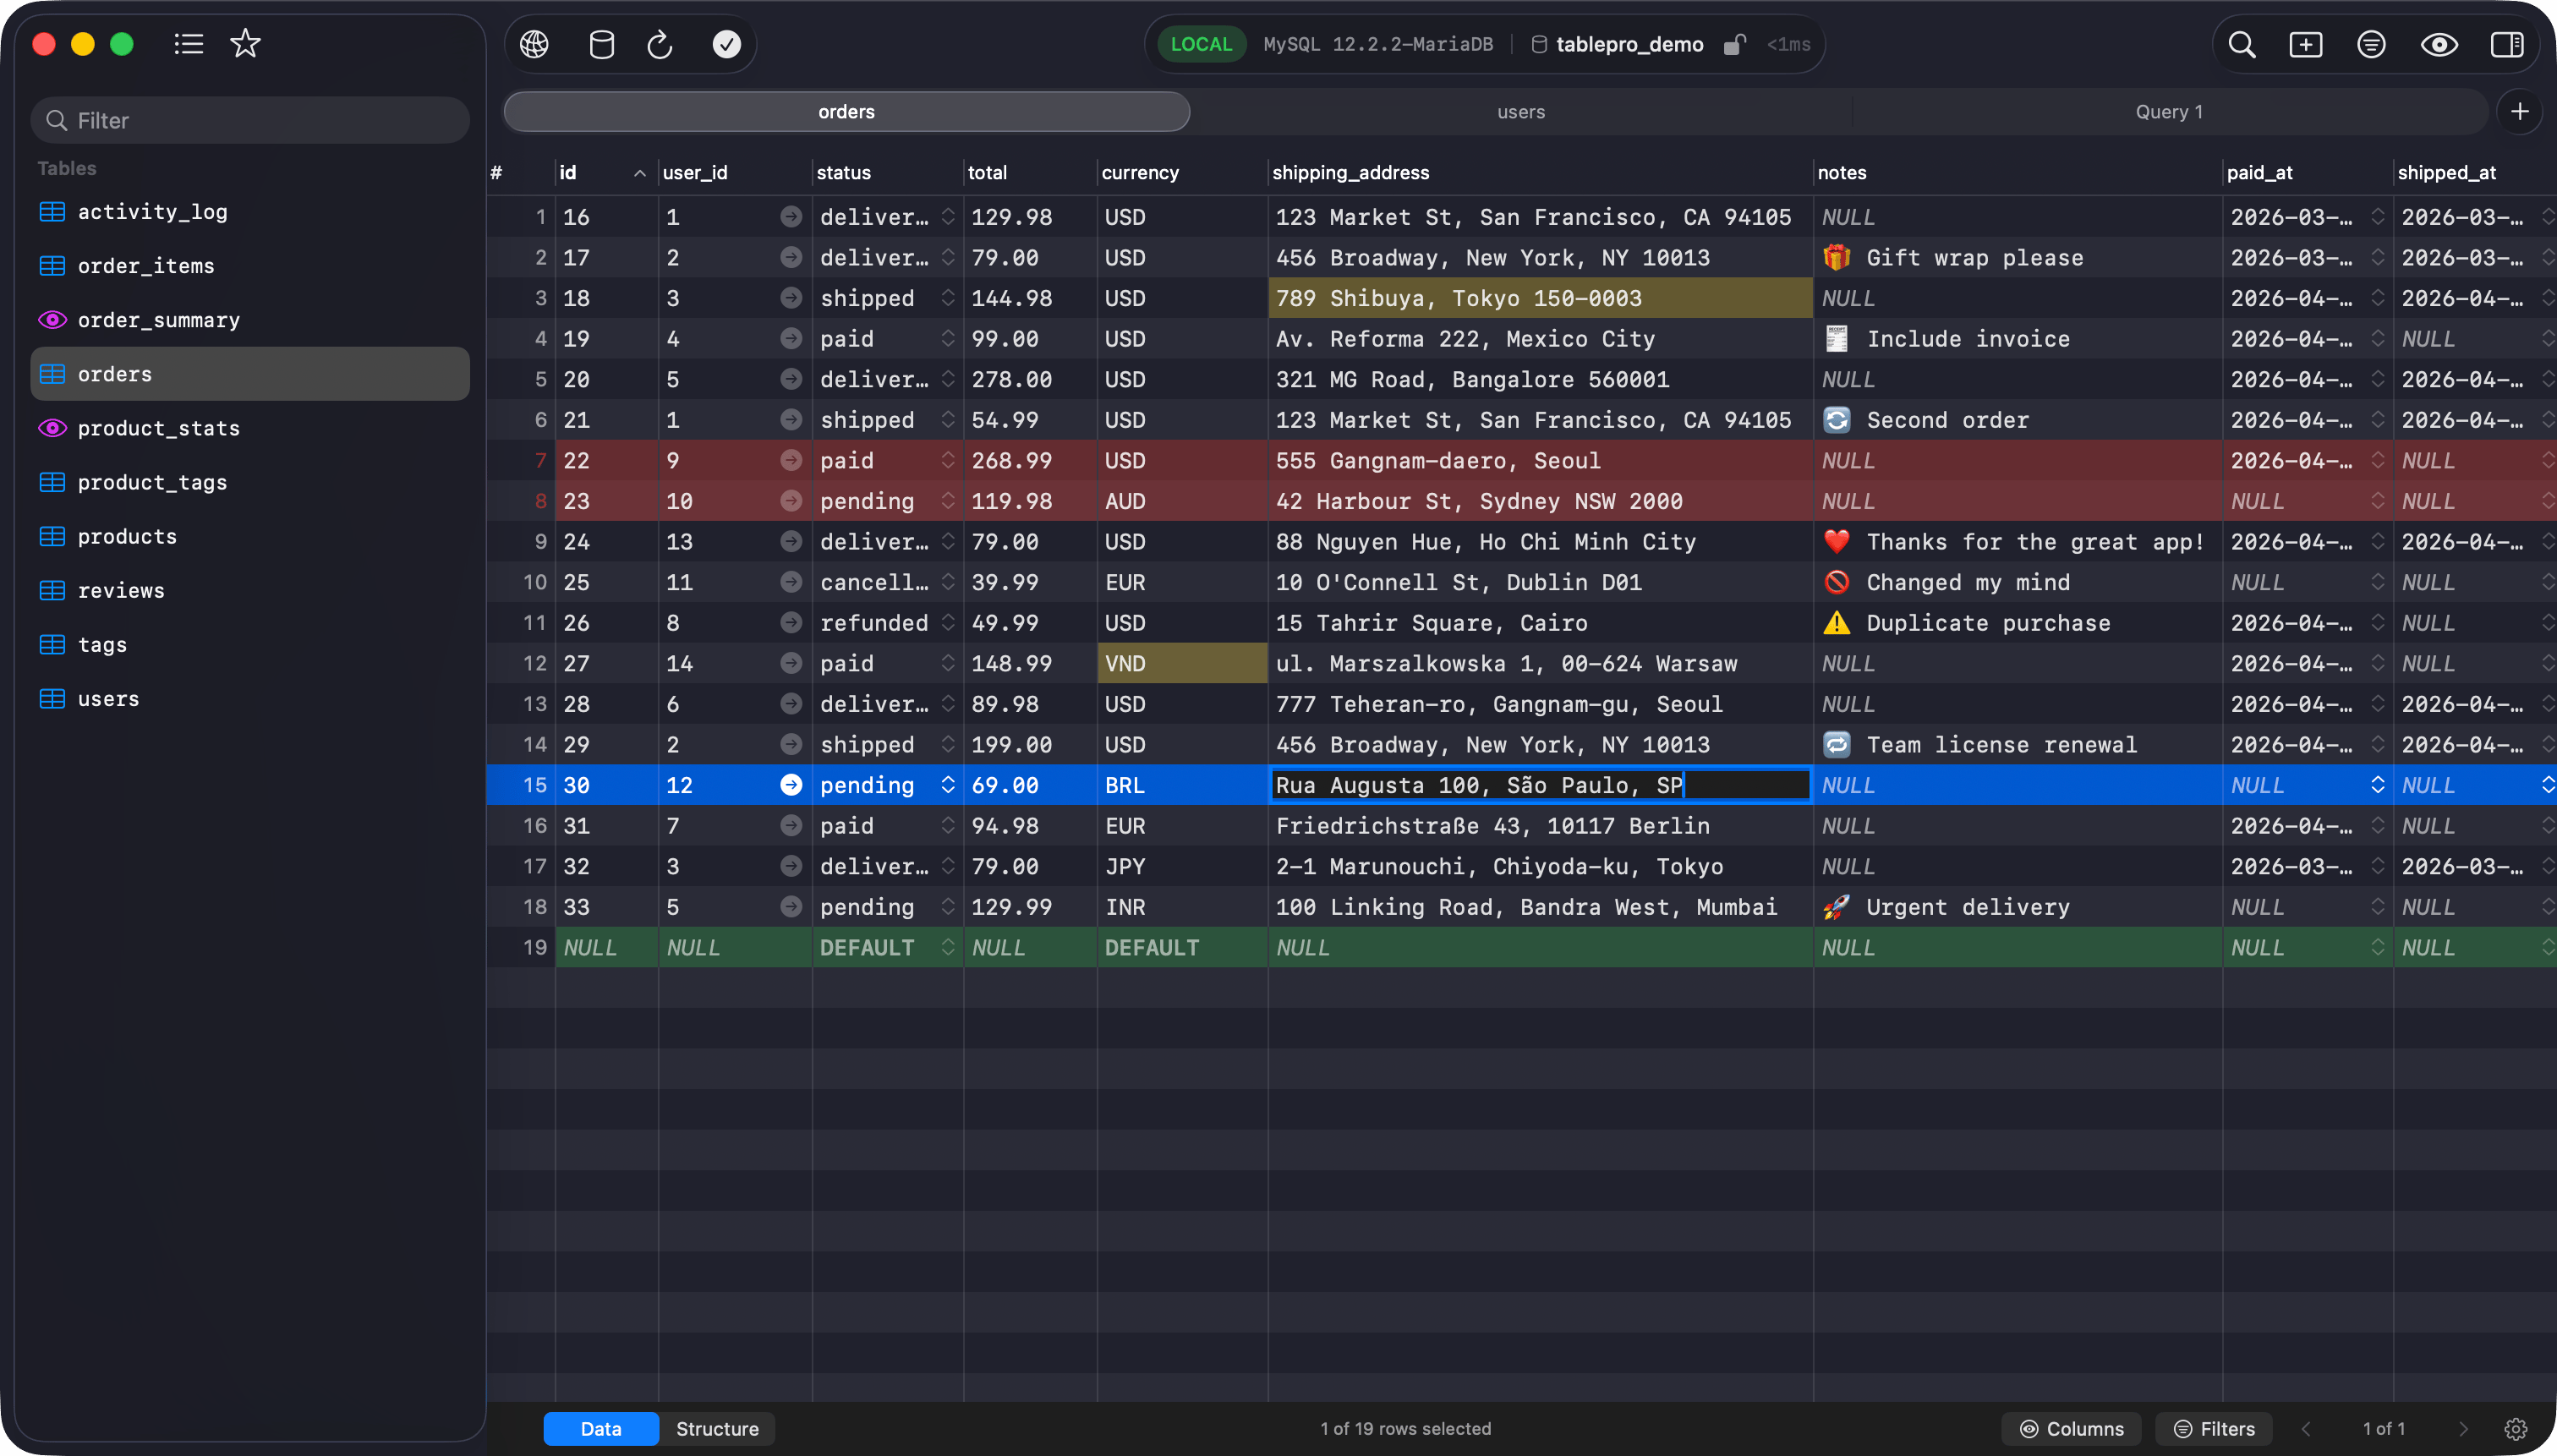
A table tab showing the data grid
Cmd+T to open a query tab, type a query, and press Cmd+Enter: